Getting Back to Vendor Events - What I Learned (Part 1)
I dipped my toe into doing vendor events years ago, but due to life circumstances at the time it was just too hard to keep it up. My partner (now husband) was working long hours on weekends and we didn’t have a reliable babysitter who could watch our daughter while I worked events. I also had a much smaller car back then, and bringing her along meant there wouldn’t be enough room in my car to load up all of my supplies, and once we arrived at the event she would be bored and complaining (can’t blame her - kids will do that).
Then 2020 happened…and we all know how THOSE next couple of years went….
Eventually 2024 came around, events were happening again, I own a much bigger car, our daughter is older, and my husband’s schedule is much more flexible. Circumstances suddenly became MUCH friendlier for me starting up again.
I’m by no means an expert and I have an entire notebook full of plans and upgrades I’d still like to accomplish this year, but here are some helpful things I learned:
WEATHER:
WEAR SUNSCREEN. Even when the event is in early April. Even when it doesn’t feel that hot out. Ask me how I know
BRING WATER. Think you have enough? Bring even more. I learned this one the hard way too. After being at a July outdoor event, I got so overheated packing up my booth at the end of the day that I was blacking out, almost passed out, and ended up laid out for the rest of the night from a heat migraine. Do not be like me. Buy the big gallon jugs of water, at LEAST two, and force yourself do drink them. Bonus points if you stick them in the freezer a day ahead of time.
PORTABLE FANS ARE YOUR BEST FRIEND. After the almost passing out incident my husband purchased this fan for me. It’s fantastic. I bring two charged batteries with me, but even running the fan on medium speed for almost 6 hours, I’ve never needed to use the second one
PORTABLE PROPANE HEATERS ARE YOUR OTHER BEST FRIEND. I signed up for an outdoor Christmas market the weekend after Thanksgiving and it ended up being brutally cold, even for the Chicago suburbs. One thing that saved me was my husband letting me borrow the portable propane heater he uses for ice fishing. The propane tanks are only a few buck each, but keep in mind that it’s much more effective in keeping you warm if your tent has walls.
KEEP SOME HOT HANDS/ FOOT WARMER IN YOUR SUPPLY KIT. They’re only a few bucks each and are really a huge lifesaver. In fact, if you want to be a good neighbor, keep a extra set or two for fellow vendors who might not be as prepared.
SUPPLIES
PREPARE FOR EVERYTHING. It’s better to have it and NOT need it than vice versa, and even if you don’t need it, you may be the person who can help someone else out. Some of the miscellaneous things I keep in my kit are sunscreen, chapstick, Tylenol, snacks, pens, paper towels, garbage bags, s-hooks, zip ties, wire-cutters, scissors, screwdriver, windex, double sided tape, and bandaids.
HELPFUL TENT HINTS: Some pop-up tents are easier than other. Mine is of the NOT easy variety, especially when I’m running the booth alone. I had some spectacularly kind and helpful fellow vendors who lended a hand the first few times when I was struggling, but here’s a few things I learned:
KEEP THE CANOPY ON. When you break your tent down at the end of the day, keep the canopy velcroed to the top. You WILL have to undo the attachment straps to the frame to be able to fold it up, but keeping the canopy attached on top makes it much easier to setup the next time. If you’re worried about it getting dirty in transit you can put a trash bag over the top to protect it.
PUTTING UP THE TENT ALONE? I struggled with this SO badly until I learned this trick. Attach one of your tent weights to the leg at one of the corners of your space, then pull the OPPOSITE diagonal leg to open it. The weight will keep the first leg in place and much it much easier for you to open the tent without the help on a second person. It’s not a bad idea to practice a few times at home, if you’ve never done it and you have a space outdoors.
SPEAKING OF WEIGHTS….they are absolutely, positively, NOT optional. Whether the event requires them or not (and they absolutely should be requiring them) you NEED them. There are a lot of options out there - the ones I use are the canvas ones that you fill with sand and Velcro to the base of each tent leg. Weights should be a MINIMUM of 40lbs per leg. Yes, it sucks lugging all that weight from your car to your space, but a flyaway tent in incredibly dangerous to everyone in attendance, not to mention the risk of destroying either yours or someone else’s product. I attended a couple events this year where even WITH the proper weights, people were desperately holding down the legs of their tents to keep everything in place. Sometimes one location is protected from the wind, and someone else a few spots away is getting the brunt of it. Canvas weight bags are cheap. Sand is is cheap. Protect yourself and others.
BRINGING A DOLLY/HAND TRUCK IS INVALUABLE. You never know how far away you’ll have to park, and tent weights, grid walls, etc are HEAVY. I’ve seen a lot of other vendors using the fold up carts that look like wagons - this kind doesn’t work for me because of the size of the grid walls, but depending on what you sell and how your booth is set up, it may be a good option for you. When you’ve been out in the sun for eight hours, the last thing you’ll want to do is carry everything back in your arms. (Pro-tip I discovered- my dolly can only handle two tent weights at a time or else the wheels go flat).
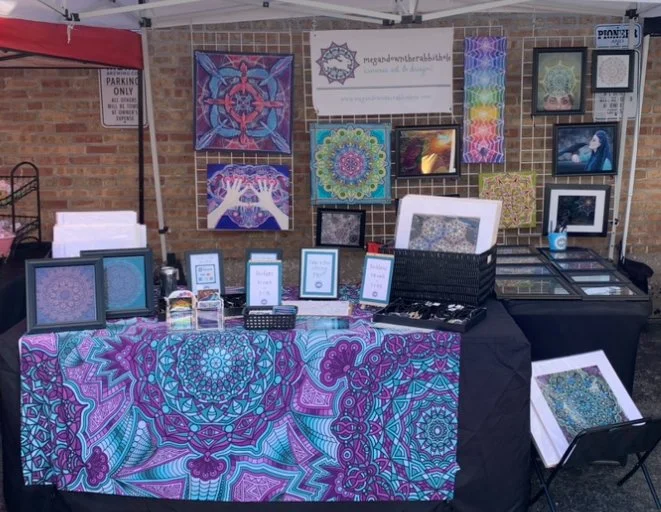
GRIDWALLS, S HOOKS AND ZIP TIES - THE HOLY TRINITY. This is the best system I’ve found to hang up my framed pieces. A lot of artists who’ve been at this for a long time use pro-panels,and while they look fantastic and really professional, they are not currently in my budget. I bring 2 x 4 gridwalls (I got them on Amazon) and hang then up by attaching zip ties to the top frame of the tent, attaching more zip tie loops to the top of the grid wall, then hanging them up with large S-hooks you can buy anywhere that sells hardware. The great thing about this system is that all you have to do is unhook the s-hooks and just leave the zip ties attached for the next time. If it’s a windy day, you can zip tie the sides of the grid walls together to keep them from moving. Bonus points - the grid walls also provide additional weight to stabilize your tent on a windy day